Sunday, May 29, 2011

Leftovers

As a kid I hated "leftovers".  The reason they were left over was no one wanted them.  That's not the case  with fabric.

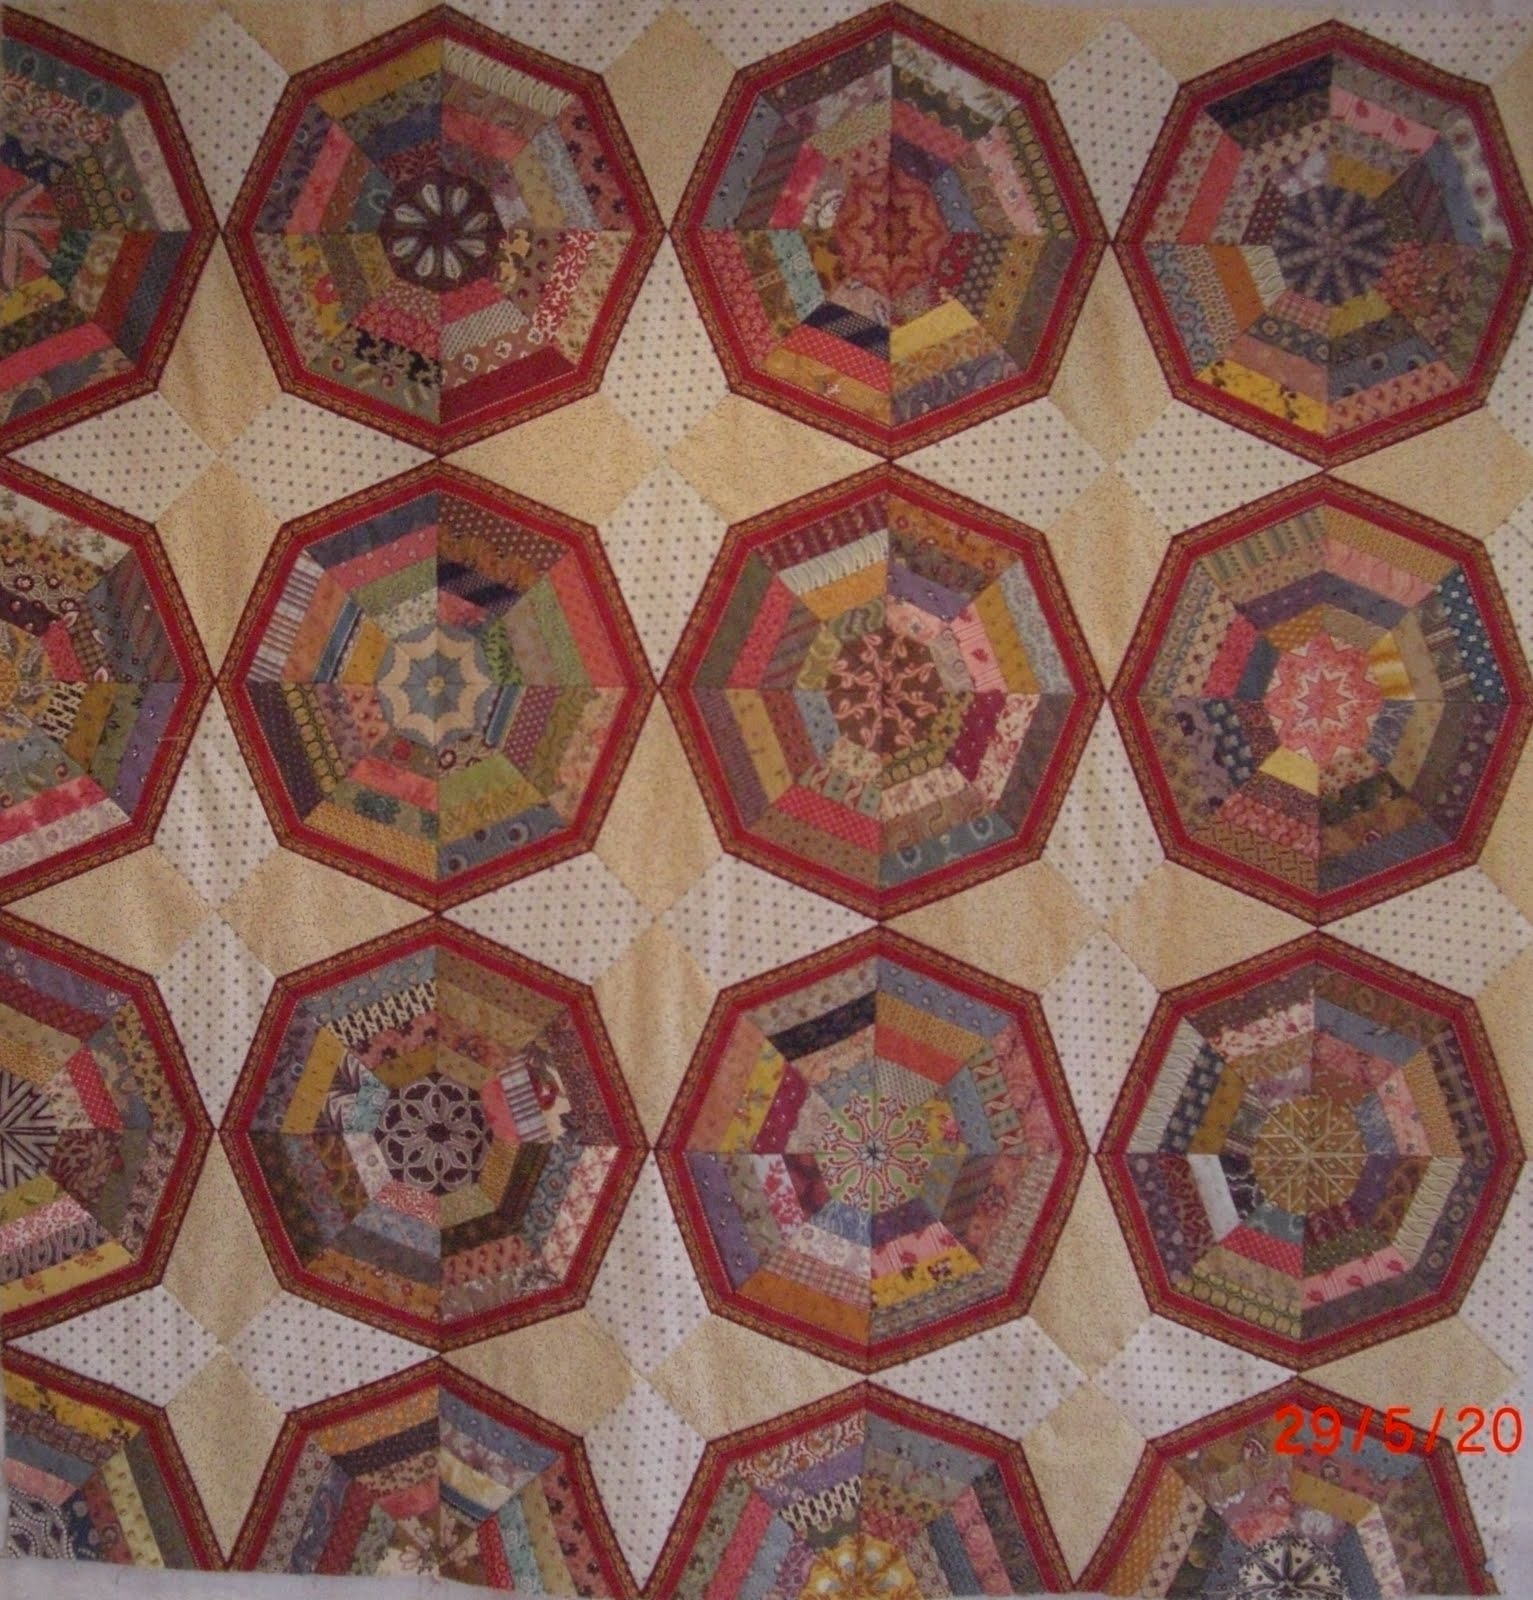
Last year I had some scraps I felt were too good to throw out and with reference to the frugal patchworkers of previous generations I thought I'd try to use them.  I made lots of these


I had an idea and put them together but they didn't really appeal so if you look closely you may see some threads still at the edges.  There are quite a few more where these came from and it would be a shame to toss them out so I am trying to come up with an alternative design to use them.

Speaking of leftovers I seem to have accumulated lots of 1.5" strips so I thought I'd try a slightly different version of "Muffet's Way".  If you do look back, it is the quilt in the middle picture of that post.  Below, I have used reproduction fabrics in smaller blocks


I have been working on it this weekend and would like to have 25 blocks all sewn up by Tuesday.  Scrap quilts appeal to me above all other styles, even though I love album quilts.  It feels good to avoid throwing leftovers out.

Monday, May 23, 2011

Comings and Goings

Don't you just love receiving something in the mail?  Emails are fine and fun in their own way, but when I know that sender went to the trouble of putting something in an envelope and then travelled to the post box or post office to send that something my way just thrills me.

Imagine my excitement when  Sharon from Washington State in the US sent me a package containing this:


Above the cute little nail file is a double sided 4 page pamphlet about the recent Red & White quilt show in New York.  Sharon knew I'd love it because she has seen my blog's left sidebar, full of links to other blogs with  beautiful photos (including Sharon's) of the show.

In amongst the notes from Joanna S Rose was this little tidbit:
"It is my hope that the show will travel far and wide - inquiries have come from several continents."
I hope that includes Australia.  I would certainly travel as far as Perth or New Zealand if the exhibition were to be staged in Australasia.

So a huge thank you to Sharon from Grassroots Quilting who has some colourful liberated quilts on her blog right now as a result of a weekend retreat with Gwen Marston.  Lucky duck! Go on over and check out her fun quilts.

So much for incomings.  Now for outgoings.  Last week I heard that Linda was organising her annual Quilts in the Barn Show.  This year Linda has managed to snag Jo Morton (yes, THE Jo Morton) to come over and show her quilts in a fund raiser for breast cancer research.  On top of this, Linda has decided to make a raffle quilt from only Jo Morton fabrics.  She has asked for blocks from around the world to include in the quilt.


This is my humble offering.  Not yet trimmed to 5.5".

It's not too late to join in and it would be nice for Linda to know that all her efforts are supported by the blog community.  I don't think Linda would mind me telling you that the block is so simple and she gives clear instructions here.  So simple I am tempted to make my own quilt using this block.

Sunday, May 15, 2011

Slowww Progresss

Quilterie has been very quiet recently.  I've been busy with lots of little fiddly things.  You may remember a quilt I showed before called Georgetown Square.


Well I needed some of the sashing fabric for some fussy cutting in another quilt, but you know how it is...you can't cut into a fabric if there is the tiniest possibility that there won't be enough for the initial project.

So, after some phaffing about I finally put some sashing onto the Georgetown Square:


 I didn't get very far before I realised that the directional fabric  may require mitres in the corners.  Too late.  Anyway  with such a complex fabric pattern, that seemed like a poor option.  Before cutting any more of my sashing I thought I'd better consider further border options.  At this point the quilt only measures 52" square, just too small to be useful.

So I am not much further along with the design.  In spite of my dislike of curved piecing the quilt seems to demand it


but now I know why this top keeps ending up in the cupboard.  Pity, really.  I would love to liberate the sashing fabric!

Sunday, May 8, 2011

Pretty Arrangements

Many are cynical about the marketing drive behind Mothers Day and Fathers Day.  Some of my best friends are amongst that number.  But even they would have their hard hearts soften at the arrival of such a beautiful arrangement at the front door.


Let's face it.  Any opportunity that brings together family and friends to enjoy each others company should be grasped with both hands and savoured.  So whatever your circumstances, I hope you got to share today (Mothers Day in Australia) in good spirits.

Following the stimulus of the recent Antique Quilts Big Day Out and this picture


I pulled out a few of my reproduction fabrics and cut some 1" hexagons.


After a quick bit of stitching I ended up with a pile similar to this


A while later,  the paper pieced hexagons turned into this


There are enough cut hexagons for another 5 blocks.  Then who knows how these little patches of fabric will end up.  I am open to  suggestions.

Saturday, April 30, 2011

In a Bind

My current project requires 800" of bias binding.  No, it's not a stained glass pattern or celtic  designs.  But it is a secret.  Sssh.

However, I thought I'd share with you my favourite method for making bias.  I've tried the bias maker, but I get nasty little creases.  800" is too long for using "Bias Bars" even though  I have both the plastic and the metal variety.  My method is quite basic, no fancy tools required.

First cut off the selvedge.

Then fold a large square piece of fabric on the diagonal so it resembles a triangle.  Place the horizontal line of your ruler against the long edge of the triangle and make your first cut from the base of the triangle through to the tip.


Remove the cut left hand side of the fabric to use later.

Now place your ruler against the left hand edge of the right side of the triangle and cut a 3/4" strip, the length of the fold.   Sorry, southpaws, these instructions are for righties, but I imagine you are used to turning instructions upside down to accommodate your left handedness.


Cut as many 3/4" wide strips as required.


To join them, first check that they will fit together.  If they don't look like the photo below,  try the other end.  They  should match correctly.


Now place the two strips together right sides facing


If you look closely you can see that the two strips are offset by 1/4" .  Pin in place and stitch a 1/4" seam.  Press the seam open.


Cut the little bunny ears off.
 

Here you get to see my dirty ironing board cover.  It's actually quite new but I use a hot iron and the cover  gets that scorched colour  quickly.  Honest.


Use an iron to press a 1/4" fold on the bottom edge of the bias.  Eyeball it.  As quilters, we use 1/4" so frequently, it's not hard.  Press about 20" at a time before turning your attention to the top half of the bias.

Before pressing  use a spray starch.  Don't be dismayed if the bottom bit you just pressed pops open.  It will press down easily  the next time the iron comes into contact with it.


 Now fold the top edge down and press.


Finally roll the bias up 20" at a time.  It is a handy way to store the bias and if you roll it up firmly it keeps its memory and stays just like you pressed it indefinitely.


Secure the roll of bias with a pin.

I use this technique because it works for me.  I know there are other techniques and if you are comfortable with them there is no reason to try this.  But if, like me, you found other methods unsatisfactory, give this one a try.

Now all that I need is another royal wedding to entertain me while I stitch my bias on.

Wednesday, April 27, 2011

Block Therapy

Sometimes, when life takes over, it is difficult to spend much time on a large, demanding design.  It's times like these that I'm grateful for projects that you can dive into, spend an hour  and then switch off.  I have two such ongoing patterns - both samplers.


 This pattern is from Lori Smith of "From my heart to your hands" fame.  I bought it in 2008 and have added blocks whenever a quick respite from real world issues was required.  It's not too demanding because Lori did the hard work, draughting all the blocks to be the same size of 7.5" finished.  Here is a picture of Lori's quilt.


I have only managed 19 blocks out of 85, so I can see that I'll have plenty of chances to do more satisfying blocks.  I don't intend to do all the blocks, just the ones that take my fancy.

The other sampler is from Barbara Brackman's civil war blog where she posts weekly stories relating to the American civil war along with an 8" finished block.  I have done a few of these too, having had my arm twisted to join in a group thing


It's a pity that the block size is different because they look like they could have gone into the same quilt. 

Still, I do enjoy them when I pull them out.  No pressure there.

Wednesday, April 20, 2011

Showcase

Here are a few more photos from the Antique Quilt Big Day Out:


a red and white signature quilt from one town in the US.  I believe money was raised by charging for the honour of your name appearing on it.

The lady on the right is Dr Annette Gero.   She is a well known Australian quilt historian, who is a keen collector without actually being a quilter herself.

Annette is standing in front of a typical Australian version of hexagon quilt, where the hexagons are not  in a grandmother's garden path but just placed in a less organised scrappy fashion.


Presenting "Coco's Midnight Garden" in close up so you can see the great quilting Adri did.   And finally a gorgeous little present from Janet.


No, we are not formally engaged.  Instead I now have somewhere handy to put my pins.  More appropriate than sticking them in my decollatage.  Thank you, Janet.  She must have noticed that I frequently end up leaving the house covered in threads and pins.  Does that ever happen to you?